
Home / News / Industry News / First Step in Oropharyngeal Airway Use: Essential Insertion Protocol for Clinicians
Content
A patient in respiratory arrest lies on the stretcher. Bag-mask ventilation produces a gurgling sound with each squeeze, and the chest barely rises. Someone hands you an oropharyngeal airway (OPA). The first step in its use is not measuring, and it is not positioning the head. It is clearing the airway: removing blood, vomit, secretions, and foreign material from the mouth and pharynx before the device is inserted. Skipping that step can push debris deeper into the larynx and turn a manageable emergency into a catastrophic aspiration event.
An oropharyngeal airway is a curved, rigid or semi-rigid adjunct that separates the tongue from the posterior pharyngeal wall. It creates a patent channel for air to pass into the larynx in an unconscious patient whose soft tissue would otherwise collapse and block ventilation. The device has three recognizable segments: a flat flange that rests against the lips or teeth, a curved bite block, and a distal tip that sits just above the epiglottis when correctly placed.
OPAs are indicated in the following scenarios:
The governing word is "unconscious." A patient responsive enough to resist the device will gag, and gagging leads to vomiting and aspiration. That assessment belongs to the pre-procedure check before the OPA is even picked up.
The first physical action in OPA use is to verify that the oral cavity and pharynx are free of material that can be displaced. Blood, vomit, saliva, loose teeth, and dentures are the most frequent hazards. Each behaves differently when the OPA advances:
The correct technique is to suction the mouth and pharynx under direct vision using a rigid tonsillar suction tip, then inspect the pharynx before the OPA is placed. In field settings without suction, roll the patient into the lateral position, clear the mouth with a gloved finger, and allow gravity to drain what direct vision cannot reveal. Only when the field is clear does insertion become safe.
Written examinations often phrase the question as "the first step in the use of an oropharyngeal airway is to measure the proper size." Other sources answer "remove any obstruction from the mouth and pharynx." These answers are not contradictory. Sizing belongs to preparation; clearance belongs to the moment of insertion. In the clinical workflow, both are mandatory, but they occupy different points in the sequence:
Measuring is earlier in time, while clearing is the first step in the physical act of placing the device. A clinician who understands the distinction will answer the exam question correctly and, more importantly, will insert the airway safely.
The standard reference measurement runs from the corner of the mouth to the angle of the mandible. Compare that distance with the available sizes:
| Size | Patient group | Measured distance (cm) |
|---|---|---|
| 000 / 0 | Preterm to term infant | <4 |
| 1 | Infant up to 10 kg | 4-5 |
| 2 | Toddler and child (10-20 kg) | 6-7 |
| 3 | Small adult | 8 |
| 4 | Average adult | 9 |
| 5 | Large adult | 10 |
A correctly sized OPA rests with the flange against the lips and the distal tip just above the epiglottis. A size too small will fail to lift the tongue from the pharyngeal wall. A size too large will compress the epiglottis and can worsen the obstruction.
With the airway cleared and the size confirmed, the sequence proceeds:
The most important contraindication to OPA use is an intact gag reflex. A responsive patient will retch, vomit, and may laryngospasm during placement. Other contraindications to know are:
The errors that cause the most patient harm are simple to list:
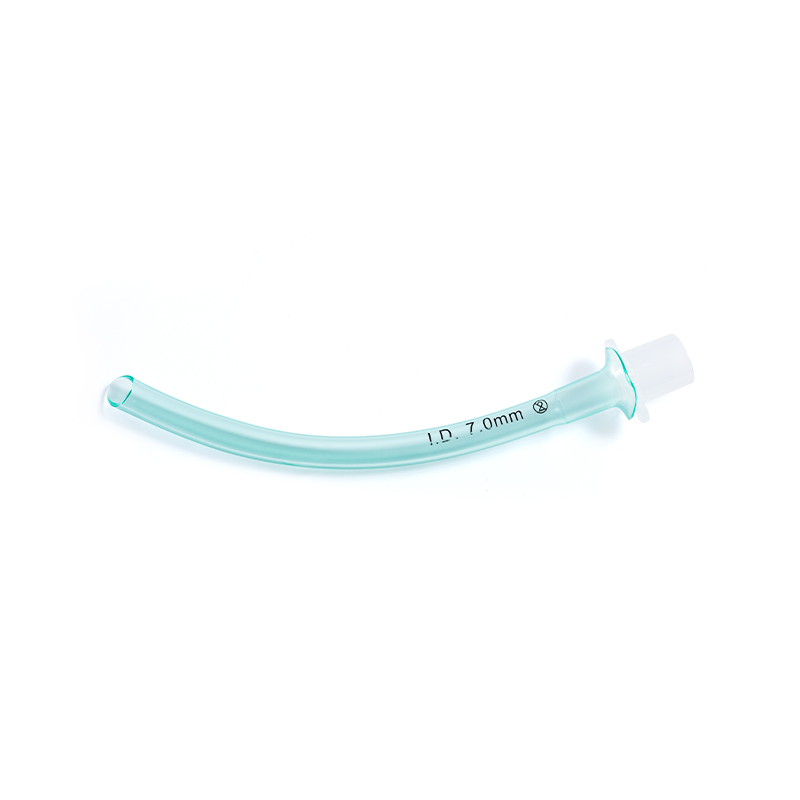
When the OPA is contraindicated but airway support is still required, the nasopharyngeal airway (NPA) is the alternative of choice. An NPA enters through the nose and follows the nasal passage into the pharynx without touching the tongue. For this reason, it is tolerated by patients with a partial gag reflex and is preferred when the mouth is obstructed, trismus is present, or oral trauma prevents an OPA.
The first step in NPA insertion is also a clearance decision: select a patent nostril and lubricate the airway with a water-soluble gel before any advancement. The NPA must never be forced, because the nasal mucosa is friable and bleeding increases the risk of aspiration.
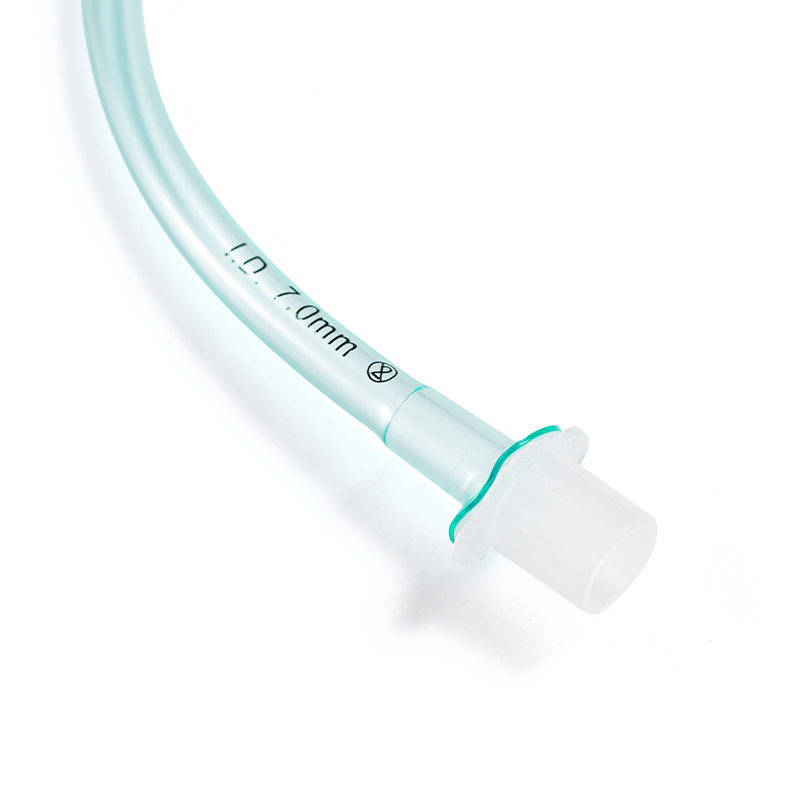 Single-Use Nasopharyngeal Airway for Airway ManagementThis disposable NPA helps maintain airway patency in spontaneously breathing patients, especially when trismus or limited mouth opening prevents oropharyngeal airway use. Available in multiple sizes for adults, children, and infants.View Product →
Airway management is a sequence, and the sequence protects the patient. The first step in the use of an oropharyngeal airway is to clear the mouth and pharynx of obstruction. The second is to confirm the correct size. The third is to position the patient, insert deliberately, and verify. Every step exists for a reason, and none can be safely skipped.
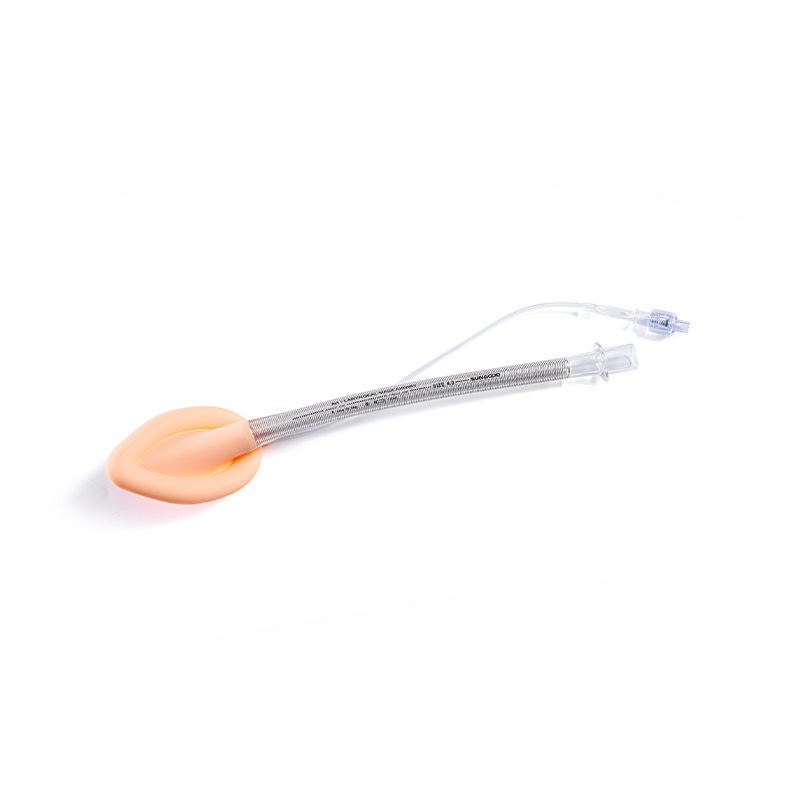
Emergency teams that train this order see fewer aspiration events and fewer failed airway attempts. For a more complete picture of how other supraglottic devices are sized and placed, read our laryngeal mask airway sizing and safety guide. Hospitals and training centers evaluating disposable airway adjuncts for their emergency carts can contact us for technical documentation and procurement support.
Product Categories
Contact Us

+86-571-87687066
+86-18106505367

Workshop 1, 1st Floor(Zone B), 3rd Floor; Office Building 3rd&amp;4th Floors, No. 550 Yinhai Street, Baiyang Sub-district, Qiantang District, Hangzhou City, Zhejiang Province, P.R.China
Ready to Begin?
Get in Touch

Now!

sungood

 English
 Español